LAB 1: Hosting and Auth
Create the React Application
We will now create the React Application. This will include the following components:
- App.js – the single page application
- components\menu.jsx – displays a tabbed menu for Andy’s Pizza and Sub Shop
- components\header.jsx – displays a header with actionable events
- components\orders.jsx – displays order history
- components\sideCard.jsx – displays the current shopping cart and recommended items
- Run the following command to create the React application:
# Create the initial app
npx create-react-app andy-pizza-shop
- Run the following commands to install the required libraries for our project
# Change to the root directory for the application
cd andy-pizza-shop
# Install Amplify, Amplify React, and Amplify React UI
npm install aws-amplify @aws-amplify/ui-react
# Install React-Bootstrap
npm install --save bootstrap reactstrap react-bootstrap
You may receive warning messages during this step - no need to worry - that is expected.
Ensure the application is installed
To ensure the newly created application works in our environment, run the following:
# Run npm start
npm start
After this, verify that the development server started successfully with this message:
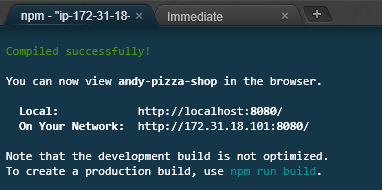
-
In the Cloud9 environment, choose Preview Running Application from the Preview menu:
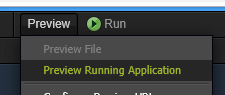
-
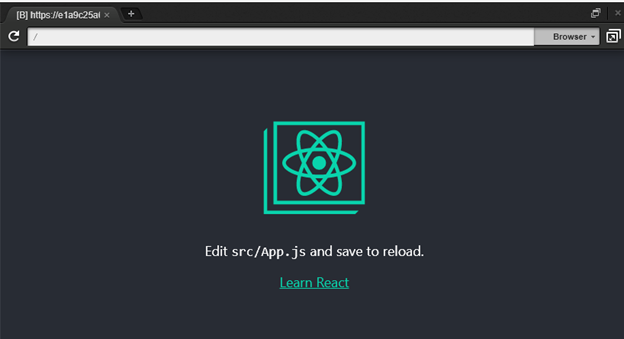
This will load a browser window within Cloud9. Ensure the default application is working correctly:
Going forward, you will probably want to launch the preview window in a separate browser window. Click the button in the top right to do this: 
Assuming that is working, we can move on to the next step.