Add Authentication to Our App
Add the Authentication to our App
Next, you will take advantage of the newly deployed authentication feature. To do this, use the Amplify Authenticator component which provides built-in sign up and login capabilities.
- Replace the contents of the App.js file with the following and save App.js:
import React, { Fragment, Component } from "react";
import "./App.css";
import { Container, Row, Col } from "reactstrap";
import Header from "./components/header";
import SideCard from "./components/sideCard";
import Stores from "./components/stores";
import Amplify, { Auth, Hub } from "aws-amplify";
import { AmplifyAuthenticator, AmplifySignOut } from "@aws-amplify/ui-react";
import awsconfig from "./aws-exports";

Amplify.configure(awsconfig);

const signUpConfig = {
  header: "Welcome!",
  signUpFields: [
    {
      label: "First Name",
      key: "given_name",
      placeholder: "First Name",
      required: true,
      displayOrder: 5,
    },
    {
      label: "Last Name",
      key: "family_name",
      placeholder: "Last Name",
      required: true,
      displayOrder: 6,
    },
    {
      label: "Address",
      key: "address",
      placeholder: "Address",
      required: true,
      displayOrder: 7,
    },
  ],
};

class App extends Component {
  state = {
    showType: "",
    loggedIn: false,
    currentUser: null,
  };

  loadCurrentUser() {
    Auth.currentAuthenticatedUser().then((userInfo) => {
      this.setState({
        loggedIn: true,
        currentUser: userInfo.username,
        currentUserData: userInfo,
      });
    });
  }
  componentDidMount = () => {
    Hub.listen("auth", ({ payload: { event, data } }) => {
      switch (event) {
        case "signIn":
          this.setState({
            currentUser: data.username,
            currentUserData: data,
            loggedIn: true,
          });
          break;
        case "signOut":
          this.setState({
            currentUser: null,
            loggedIn: false,
          });
          break;
        default:
          break;
      }
    });
    this.loadCurrentUser();
  };

  handleLogin = () => {
    this.setState({
      showType: "login",
    });
  };

  handleLogout = () => {
    this.setState({
      showType: "login",
    });
  };

  handleStores = () => {
    this.setState({
      showType: "stores",
    });
  };

  render() {
    return (
      <Fragment>
        <Header
          onHandleLogin={this.handleLogin}
          onHandleLogout={this.handleLogout}
          loggedIn={this.state.loggedIn}
          userName={this.state.currentUser}
        />
        <div className="my-5 py-5">
          <Container className="px-0">
            <Row
              noGutters
              className="pt-2 pt-md-5 w-100 px-4 px-xl-0 position-relative"
            >
              <Col
                xs={{ order: 2 }}
                md={{ size: 4, order: 1 }}
                tag="aside"
                className="pb-5 mb-5 pb-md-0 mb-md-0 mx-auto mx-md-0"
              >
                <SideCard />
              </Col>

              <Col
                xs={{ order: 1 }}
                md={{ size: 7, offset: 1 }}
                tag="section"
                className="py-5 mb-5 py-md-0 mb-md-0"
              >
                {this.state.showType === "" ? "This is the main content" : null}
                {this.state.showType === "stores" ? <Stores /> : null}
                {this.state.showType === "login" ? (
                  <AmplifyAuthenticator signUpConfig={signUpConfig}>
                    <div>
                      You are logged in.
                      <AmplifySignOut />
                    </div>
                  </AmplifyAuthenticator>
                ) : null}
              </Col>
            </Row>
          </Container>
        </div>
      </Fragment>
    );
  }
}

export default App;
This code does the following:
- Configures the Authenticator component (provided by the Amplify libraries)
–
<Authenticator signUpConfig={signUpConfig} /> - Handles the login request from our Header navigation
–
onHandleLogin={this.handleLogin} - Responds to a successful login by setting the current username in state and the header. To do this, it uses the Amplify Hub class
–
Hub.listen("auth", ({ payload: { event, data } })
Test the application
Now, run npm start, and then return to the preview tab for your application and verify that you can sign up and login to your application:
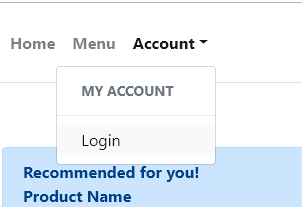
-
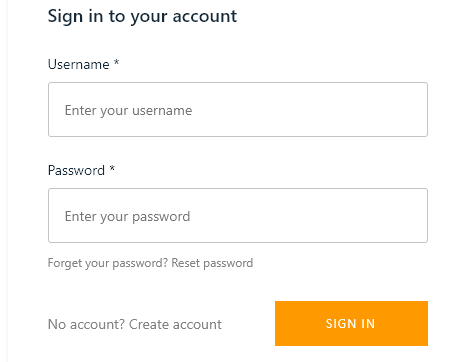
Select Account->Login in the header.
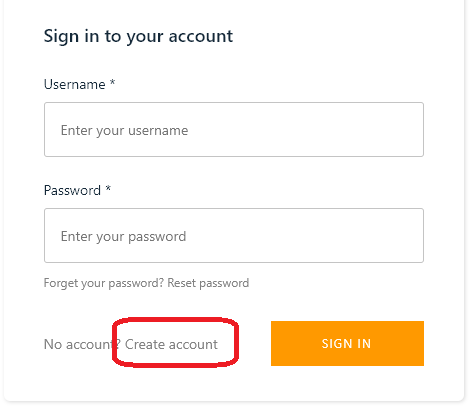
-
On the sign-in screen, click the ‘Create account’ button:
-
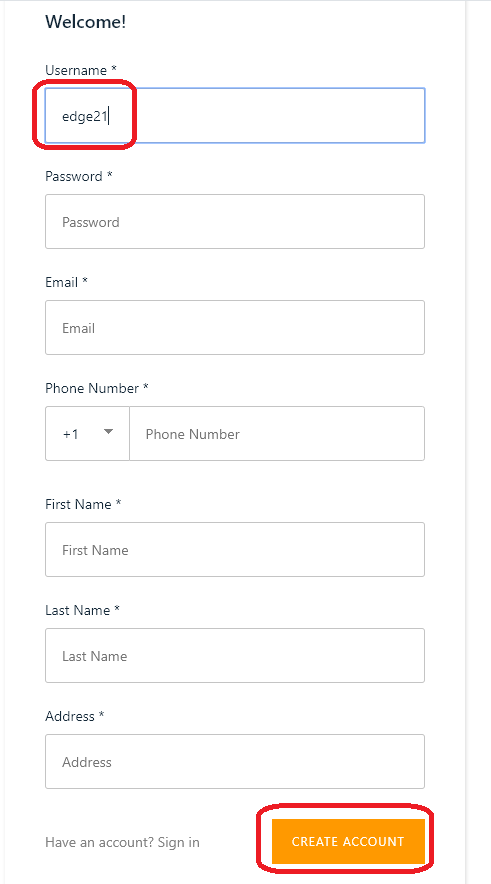
Enter the required details.
- Use
edge21as the username. This is important for later purposes. - Make sure to use an email address that you have access to in order to receive the verification code. You can re-use the same e-mail address for multiple users.
- Press CREATE ACCOUNT when complete.
- You will be prompted to enter in your verification code. To find this, you will need to access the e-mail account that you entered when signing up.
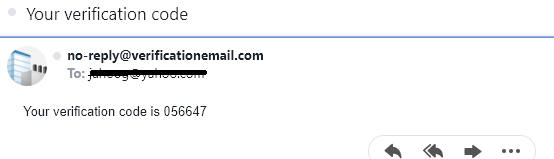
Enter the code in the Confirm Sign Up box:
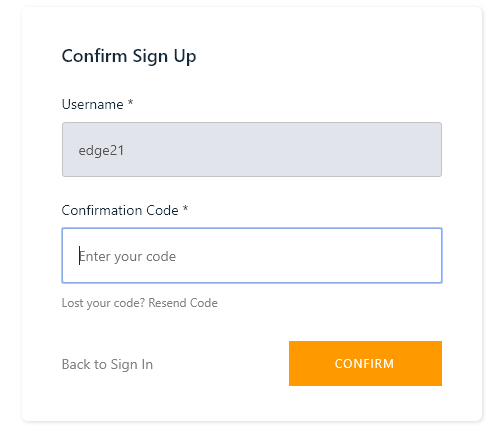
-
After entering in the verification code successfully, you can then login to the application with your newly created username and password.
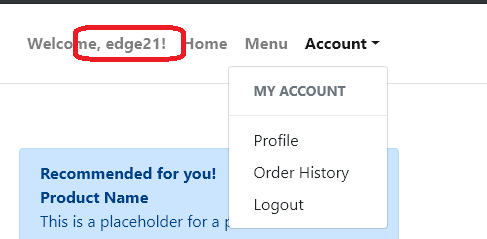
-
Now, once you have logged in you should notice the header changes to show Welcome, username. Additionally, you now have authenticated options in the My account menu.
At this point, authentication is in place and working in our app. Let’s push our changes to our hosted website. Press CTRL-C to stop the current running server.
amplify publish -c
Once complete, you should now see your changes on the CloudFront endpoint!
The -c is used to invalidate the CloudFront cache so that we see our changes immediately. See the documentation for more info!