Initialize AWS Components
Initialize Amplify
In this step, we will begin adding AWS Components using the Amplify framework. To start, let’s initialize amplify in our project directory. Press CTRL-C to stop the current running server.
# Change to the React project directory
cd ~/environment/andy-pizza-shop
# Initialize the project configuration for Amplify
amplify init
Amplify is an opinionated framework. To make relevant and automated decisions, the Amplify CLI will ask you a series of questions.
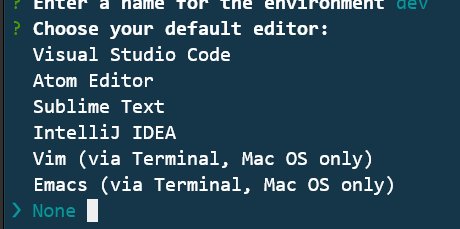
For the name of the project, you can use the default name. For the environment name, enter dev.

For the default editor, you can choose ‘None’.
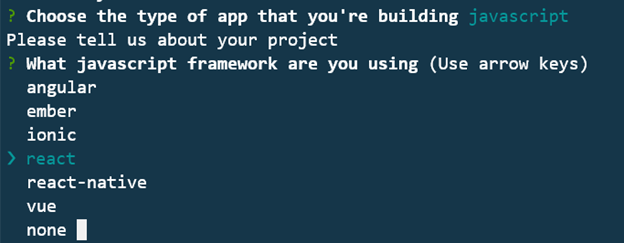
For type of app, choose javascript. For the javascript framework, choose react
Amplify attempts to identify the application and programming frameworks that you are using. Typcially this means that the correct values are already selected. NOTE: If you make a mistake during the Q/A portion, you can use CTRL-C to safely start over.
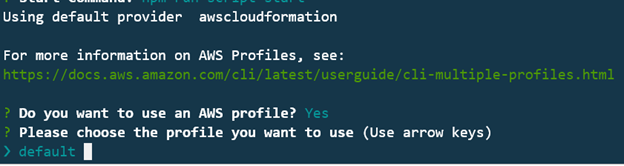
For the rest of the questions, you can select the default options. This includes selecting Y when asked if you want to use an AWS profile, and then select default for the profile name.
Once you have made all the selections, Amplify wil begin initialzing your project in AWS. Once completed, you will receive a success message.
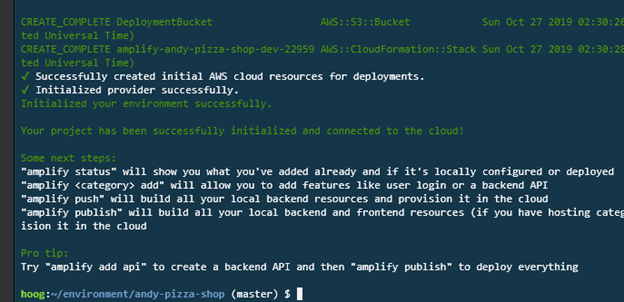
If you are wondering what is happening here, the amplify CLI is creating and executing CloudFormation templates. It also creates an S3 bucket to store configuration information about your this Amplify project in your AWS account.
Now that amplify is initialized, you can move on to adding additional components.